How to Make a Hoop Glider
Today, kids are getting more tied up with their electronic devices such as tablets, gaming consoles, and phones. If you’re a parent, you probably try to find ways to entertain them and bond with them without using all those techie stuff. You’ve probably taught them how to make paper airplanes before, but they are boring now, right? Well, there’s a new paper flyer that you’ve got to try, and they are called hoop gliders. In this article, we are going to learn how to make a hoop glider and the science behind its flight.
What You Need:
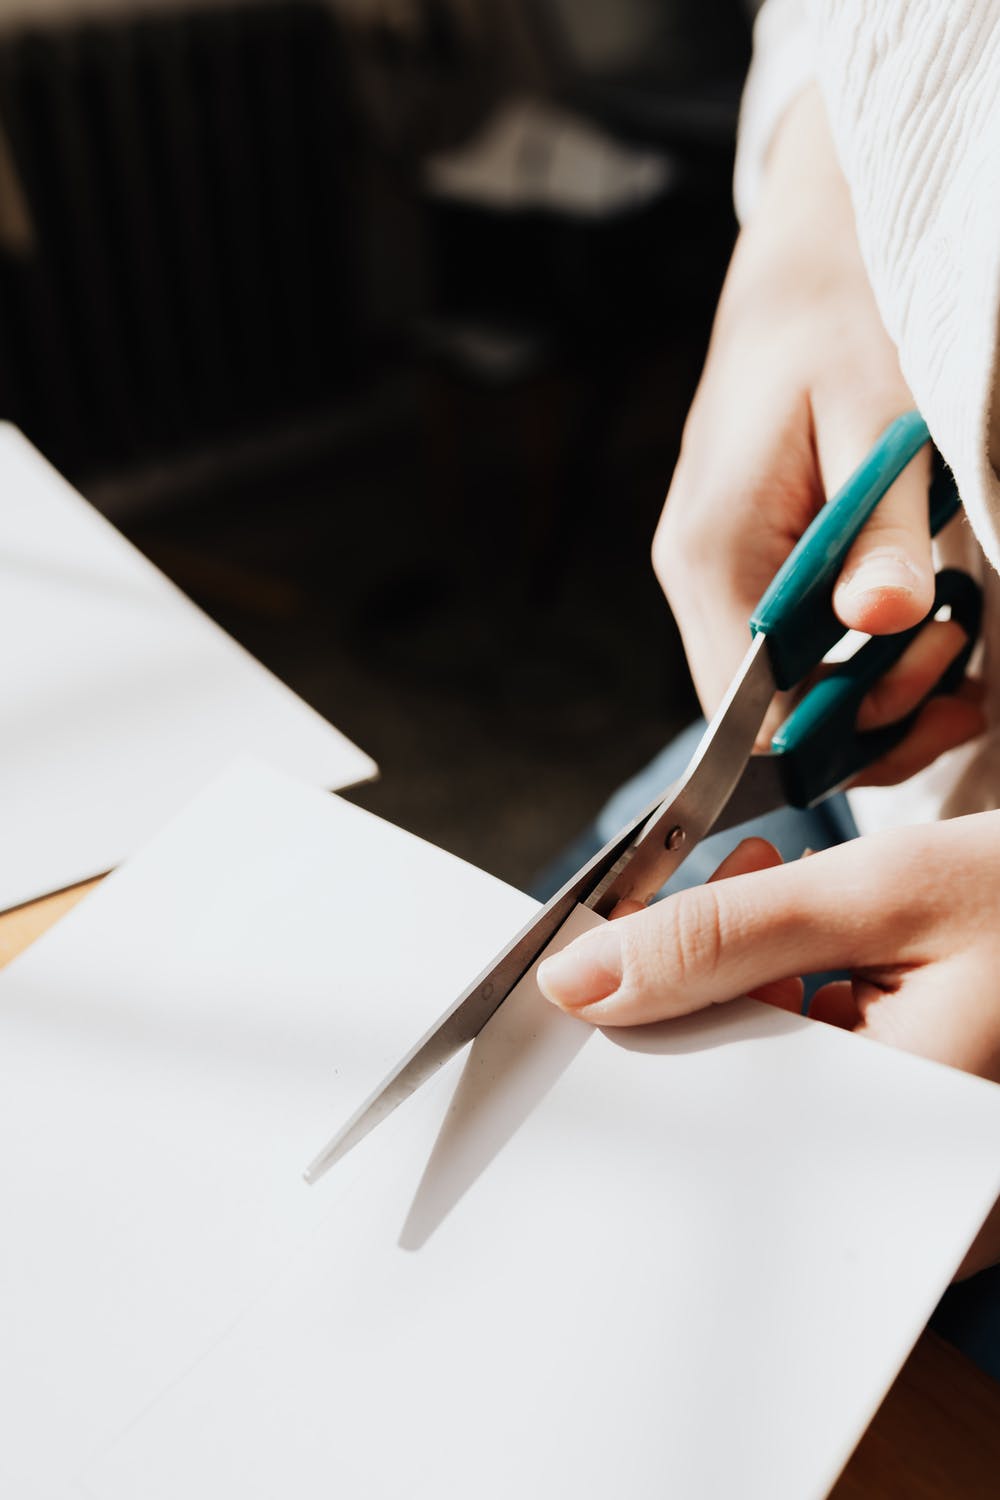
- Scissors
- Markers
- Scotch tape
- Plastic or paper drinking straw
- Colored construction paper or plain copy paper
- Ruler (to help you make small and large hoop templates)
How To Build It
- Step 1: Make a small hoop by using a marker and ruler to draw a rectangle on construction paper, then cut it out. Make the rectangle about 6 inches by 1.5 inches.
- Step 2: Make a large hoop by drawing a giant rectangle (about 8.5 to 1.5 inches) by using a marker, ruler, and construction paper. Then, cut it out after.
- Step 3: If you want your hoop glider to stand out, you can decorate the hoops with patterns, colors, and even glitters.
- Step 4: Grab the straw and cut about one inch even slits on each end.
Tip: You can try using straws with lines so it will be easier.
- Step 5: Grab the ends of the small rectangle together and overlap them. You can use tape to secure it together. After that, use the slits you cut in the straw so it can hold the hoop.
Tip: To keep the hoop and straw in place, you can tape the hoop's bottom to the straw.
- Step 6: Do the same steps with the large rectangle, and make sure that the hoops are placed on the top of the straw.
- Step 7: Toss and fly the hoop glider with the small hoop placed in front. Toss it like how you toss a paper airplane.
How Does it Fly?
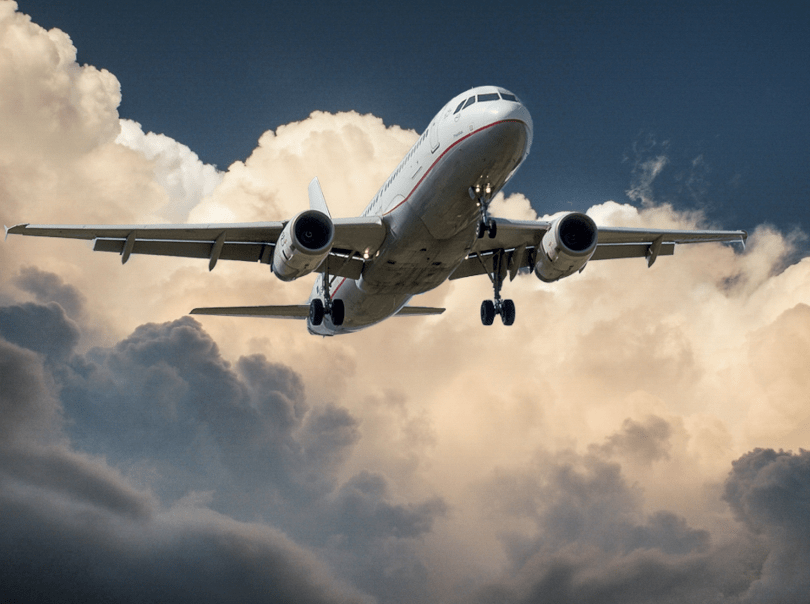
In order for the hoop glider to fly and glide through the air, there are four active forces needed, and these are:
- The lift, which pushes the glider up in the air.
- The weight of gravity which pulls the glider towards the ground
- Thrust which pushes the glider onwards
- Drag or air resistance happens when the air is pushing back on the glider when it’s thrown on the opposite side of the thrust.
All of these forces should be balanced in order for the glider to stay in the air.
Throwing the glider lets, you create a thrust because you push the glider forward. On the other hand, the circular shape of the glider’s wings helps generate a lift.
When weight overcomes lift, the plane will fall to the ground. When drag overcomes thrust, the will plane stop moving forward. Sometimes, when you make a single change, it will affect more than one of these forces. For example, a larger hoop-shaped wing will create more lift. However, it will also be a bit heavier, and this can weigh your glider down.
You can try experimenting with different types of throws. You can throw your hoop glider upside down and see what happens. Or, you can try making more gliders and use different lengths of straws or different sized hoops and see which ones will fly the furthest and which designs will not work well. In fact, you could also try to add more hoops to the same glider and find out if it will affect how well it flies.